Are you ready to transform your living space into a smart home that works for you seamlessly and efficiently? Whether you're a tech lover, a DIY enthusiast, or someone new to the world of home automation, Home Assistant offers a robust and flexible platform to help you take control of your devices.
But here’s where things can get tricky—setting it up for the first time can feel overwhelming. That’s why we’ve created this beginner-friendly guide to help you streamline your Home Assistant setup and kickstart your smart home automation with ease. Get ready to learn everything you need to know to connect, customize, and control your home effortlessly!
What is Home Assistant?
Before we jump into the setup, let's get a quick overview of what Home Assistant actually is. Home Assistant is an open-source home automation platform that allows you to connect and control compatible devices within your home. From smart lights and thermostats to door locks and security cameras, Home Assistant consolidates everything into one easy-to-use interface.
Unlike other proprietary systems, Home Assistant is highly customizable and privacy-focused, meaning your data stays with you—not in the cloud. It’s a perfect solution for anyone who wants complete control over their smart home experience.
Why Choose Home Assistant?
Still on the fence? These standout features might sway you:
- Privacy-first approach – It runs locally, so your sensitive data is never sent to external servers.
- Wide compatibility – Connects with 1,000+ smart devices from major brands such as Philips Hue, Google, and Sonos.
- Customizability – Create unique automations tailored to your home and lifestyle. Want your coffee machine to turn on as soon as you raise the blinds? Home Assistant can handle it.
- Free of charge – It’s open source and completely free to use.
What You Need to Set Up Home Assistant
To begin your Home Assistant journey, gather the following essentials:
- A Raspberry Pi (or other supported hardware): Most people install Home Assistant on a Raspberry Pi 4, but you can also use a virtual machine or a compatible server.
- A microSD card (32GB or larger): This will hold the operating system for your Home Assistant.
- A stable internet connection.
- A device with a web browser (e.g., laptop, tablet, or smartphone).
Optional add-ons include USB dongles or hubs if you plan to integrate devices using protocols like Zigbee or Z-Wave.
Step-By-Step Guide to Setting Up Home Assistant
1. Puts Local Control And Install Home Assistant
The first step is to install Home Assistant on your chosen hardware. Here’s how you can do it using a Raspberry Pi:
- Download the official Home Assistant image from the website (make sure it matches your Raspberry Pi model).
- Use an application like balenaEtcher to flash the image onto your microSD card.
- Once it’s flashed, insert the microSD card into your Raspberry Pi and connect it to power and your network via Ethernet.
Give it a few minutes to boot completely. You can then access Home Assistant by opening a web browser and going to `http://homeassistant.local:8123`.
2. Create Your Home Assistant Account With open Source Home Automation
When you access Home Assistant for the first time, you’ll be prompted to create an account. This account will act as the main administrator profile, so make sure to choose a strong and secure password.
Once your account is set up, you can configure your home network by adding the name of your home and its location (city and time zone).
3. Add Your Devices With Local Control And Privacy
One of the standout features of Home Assistant is its ability to integrate with a wide range of devices and services.
- Navigate to the “Settings” tab → “Devices & Services.”
- Look for your devices in the Integration library and follow the on-screen instructions to connect them. Popular integrations include Philips Hue, Sonos, Nest, and even Alexa or Google Assistant.
Pro Tip: Start with a few devices first and expand gradually. This allows you to understand how integrations work without feeling overwhelmed.
4. Set Up Automations
What’s a smart home setup without some intelligent automations? Automations in Home Assistant follow a convenient “trigger-action” model.
- Go to “Settings” → “Automations.”
- Create a new automation. For example, set the lights to turn on automatically when motion is detected.
- Test your automation to ensure it’s working as expected.
5. Install Add-ons
The add-on store is where Home Assistant really shines. Add-ons are mini-programs that expand Home Assistant’s functionality. Some of the most commonly used add-ons include:
- Node-RED for advanced automation.
- MQTT brokers for easier connectivity between devices.
- HACS (Home Assistant Community Store) for integrating community-developed themes and integrations.
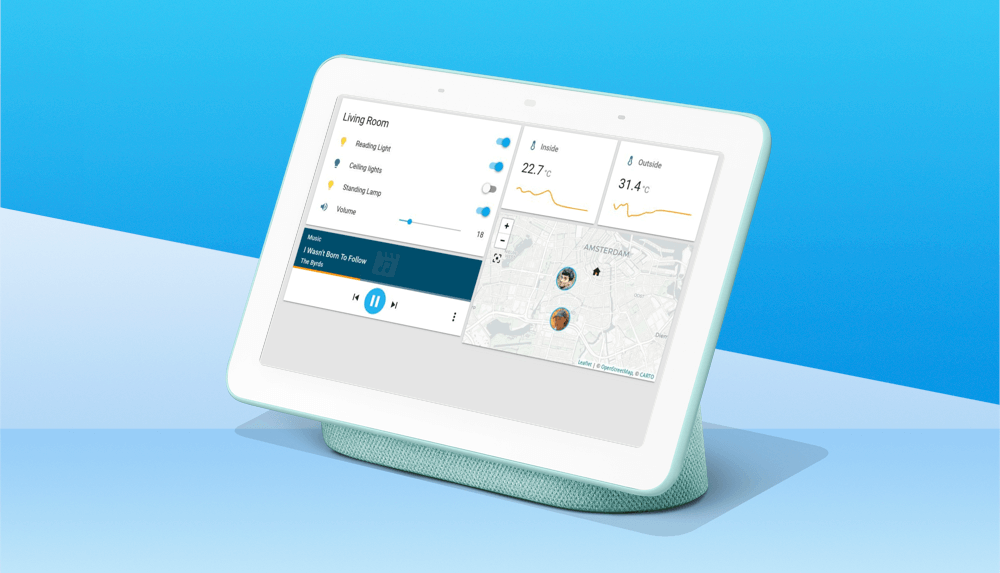
6. Customize Your Dashboard
Home Assistant’s dashboard is the control center of your automated home. While the default dashboard gets the job done, custom views can take it to the next level:
- Use the “Overview” tab to access your Lovelace dashboard.
- Tap the edit button to add, remove, or reorder widgets.
- Experiment with themes and custom cards from HACS for a more personalized display.
Common Troubleshooting Tips
Encountered a hiccup? Here are some quick fixes for common problems:
- Slow performance? Consider using an SSD instead of a microSD card for better speed.
- Device not showing up? Check if it’s on the same Wi-Fi network and confirm compatibility with Home Assistant.
- Automation not triggering? Revisit the configuration and ensure your triggers and actions are aligned properly.
The Home Assistant forums and documentation pages are excellent resources whenever you get stuck.
Home Automation is Easier Than You Think
With your Home Assistant setup complete, you’ve taken the first step towards effortless automation. Whether you’re looking to simplify daily routines, save energy, or just have fun with cool tech, your smart home is now limited only by your creativity.
And remember, Home Assistant is constantly evolving through community contributions, so there’s always more to explore and improve. Contact Linko Smart to explore more!
Start small, expand strategically, and watch as your home transforms into a fully optimized haven of convenience and comfort.
Happy automating!
#voice assistant #home assistant operating system
Related Reading:
Related Keywords:
home assistant|home automation|local control and privacy|home assistant green|home assistant operating system|home automation that puts|control and privacy first|raspberry pi|home assistant cloud|apple watch